

Quite a while ago I was on Pinterest just browsing, for nothing in particular, and up popped a pin of a coffee table turned into a cushioned bench. I thought, what a clever, DIY idea! I immediately wanted to make one for my bedroom which has tons of empty space just begging for furniture of some kind to make its home there.
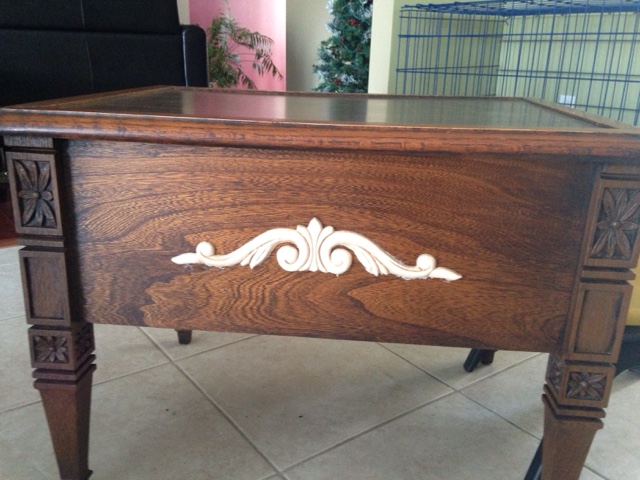
I scoured craigslist and thrift stores for a coffee table. It had to be perfect. I knew what I wanted and I wasn't going to settle for anything less. What I wanted didn't seem to be out there though (at least not for the price I was willing to pay). While I was searching for this elusive coffee table I happened upon a beat up end table that looked like she was straight out of the 70's complete with little flowers on the legs and a geometric design on the drawer. Hmm, I thought to myself, I bet I could easily make this into a nice little ottoman for the living room.
My local Salvation Army had hidden this gem in a corner, forgotten, with no price tag. I quickly asked the nearest employee about the little table and she got the manager who asked if $10 was OK. While this retro table had character, I didn't think it was worth $10 so I tried to talk him down to $5 but he wasn't having it so we met in the middle and agreed on $7. I may have underpaid a bit or overpaid a bit but I'm satisfied that this piece is worth $7.

As you can tell by the Christmas trees in the photos I bought this table a while ago. These three pics are cell phone shots from back when I first started blogging and thought it would be easier to only take cell phone pictures for my blog projects. So as you can see I really do have DIY ADD. I flit from one project to the next like nobody's business, leaving unfinished projects in my wake, to be finished months and months later. I guess I get bored easily, or is it distracted easily? Either way I do manage to get my projects finished sooner or later ;).
The first thing I did was remove the ugly knobs and scrub the table clean with Rustoleum Cabinet Transformations deglazing solution. I then glued matching appliques on both sides that I had picked up at Home Depot for a few bucks each. I thought there was way too much bare, blank space on the sides and I wanted to give this ottoman a more elegant, refined look. I also filled the knob holes with wood putty and sanded that smooth when the putty was dry so it looked like there were never knobs to begin with.
Jackson immediately claimed the table as his own, sitting at it with his little chair, playing with his cars. A toddler executive desk if there ever was one.

After that I got to work painting the end table white. I wanted the ottoman to look fresh and to match the white woodwork in the living room. After a few white coats she was ready for the next step.
I needed a base for my cushioned ottoman and I knew plywood would work perfect. I just happened to have some plywood monsters that I had used for Jackson's 2nd Birthday/Monster Party stashed in the garage. I may have gone a little overboard at that party with all the monster stuff I made, but it was just so much fun!! Maybe I will even do a post in the future on some of the monster decorations I made...
But I digress, back to the ottoman, I had Cory cut the plywood to the raised edges of the table top so the lip of the table would show and it would look more natural.

Bye bye monster, nobody will ever know they're sitting on you, unless of course they read this post!


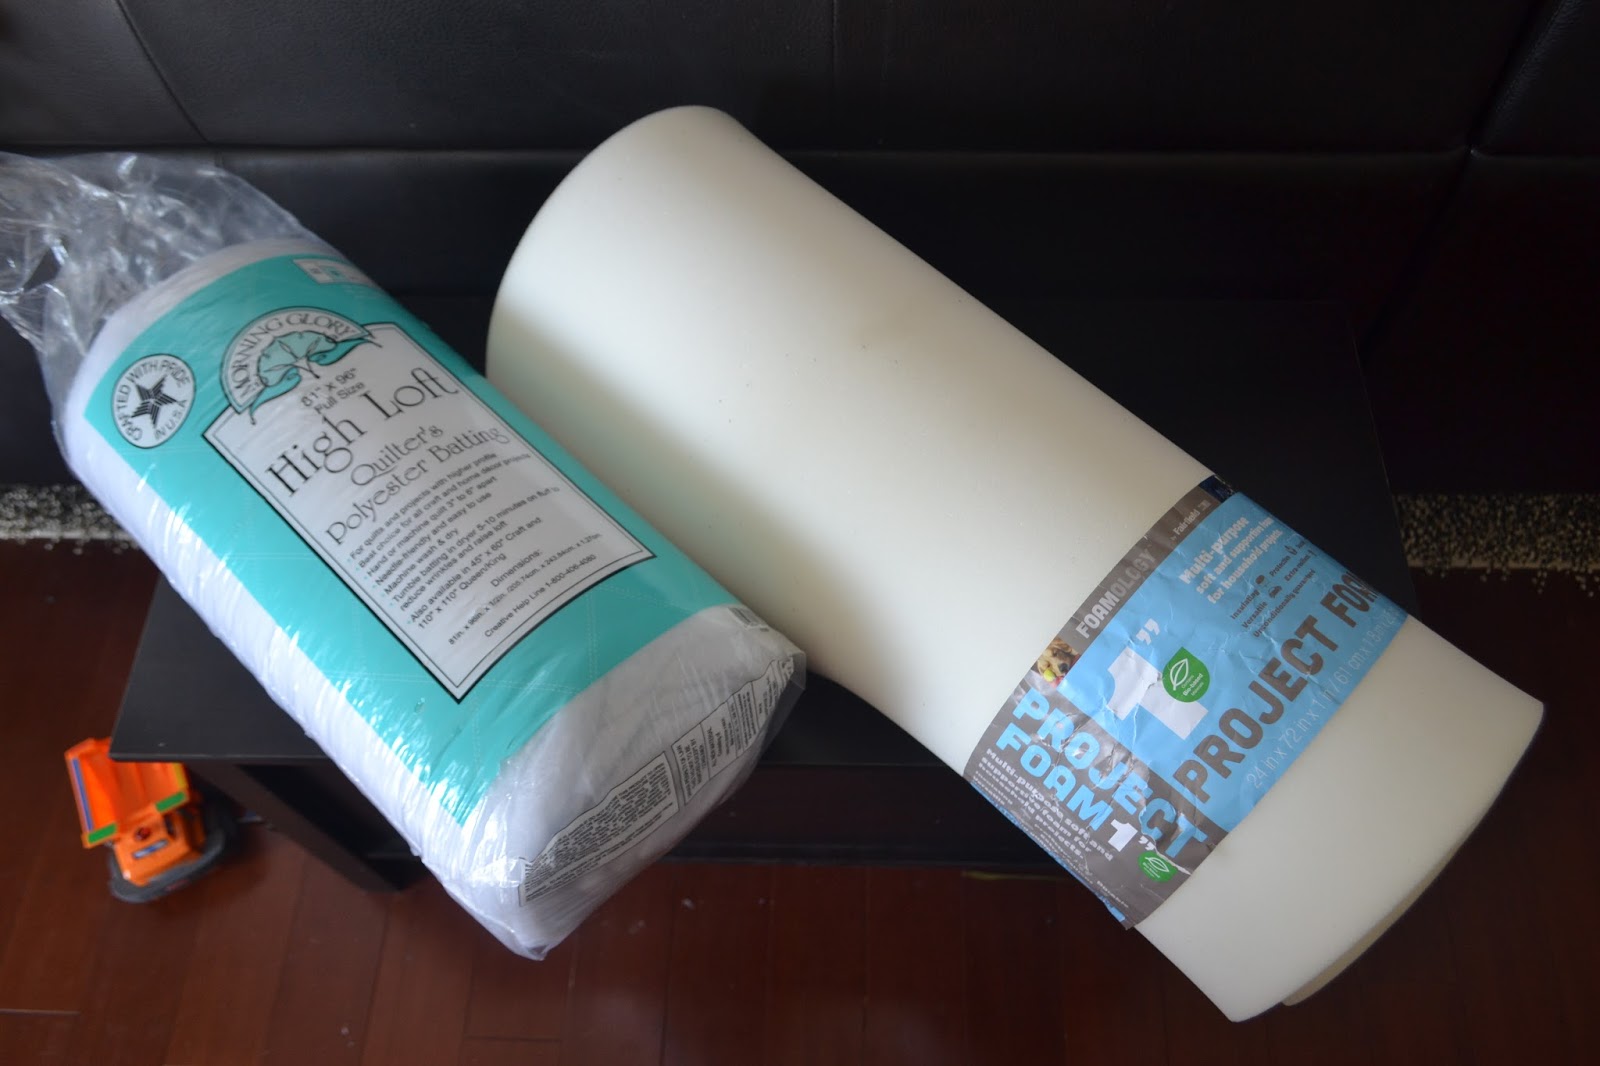
Now that my base was cut I gathered my supplies for making a comfy cushion:

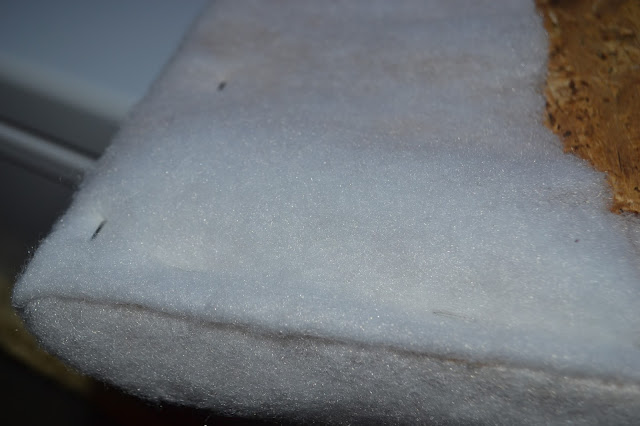
The first step was cutting the foam and gluing it onto the plywood. I just laid the foam out on top of the plywood and cut the foam to the edge. I made sure it was right on the edge or a tad over, I figured it didn't need to be perfect since it was going to be wrapped in batting and fabric. I then used spray glue that I picked up at Walmart to glue the foam to the plywood so no slippage of the foam would occur.

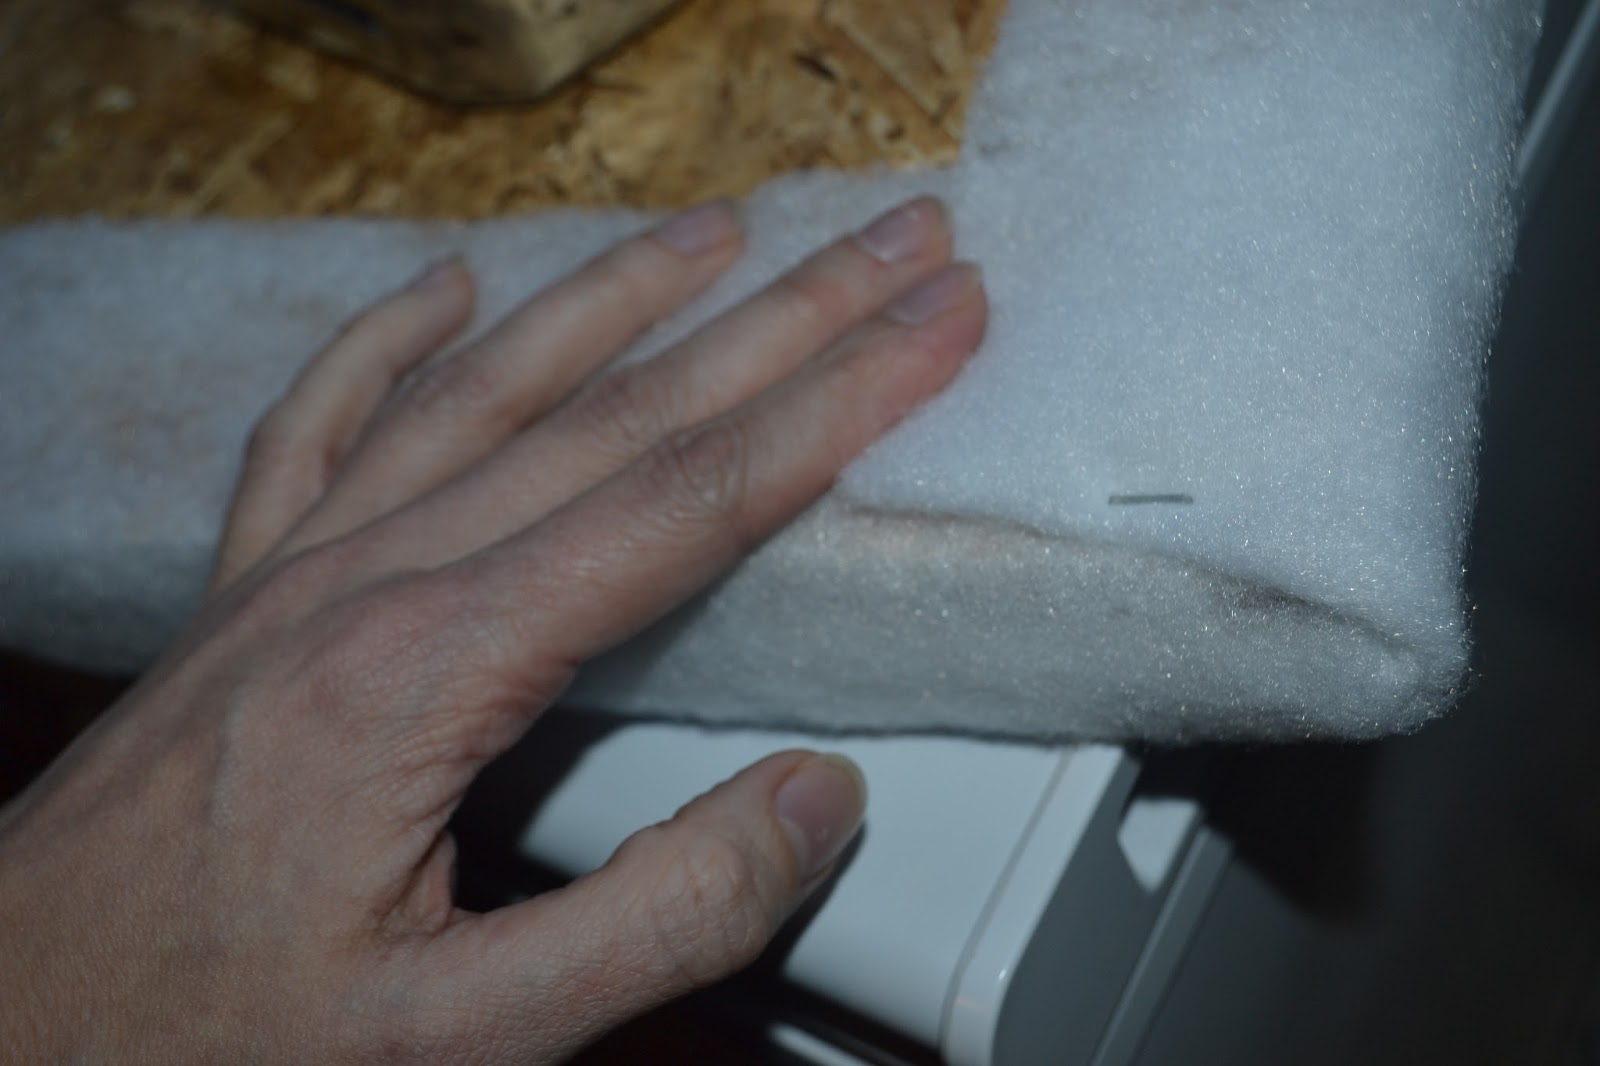
The next step, stapling, is pretty loud. Jackson was taking a rare nap so I took my foam/plywood piece down to the basement so I wouldn't wake him and laid it out on top of the freezer. Perfect work space, let me tell you! I wrapped the foam board in batting that I had cut to be a few inches over all the sides. I wanted the cushion to have a softer look than just the foam alone and also the batting would cover any jagged edges from the plywood.
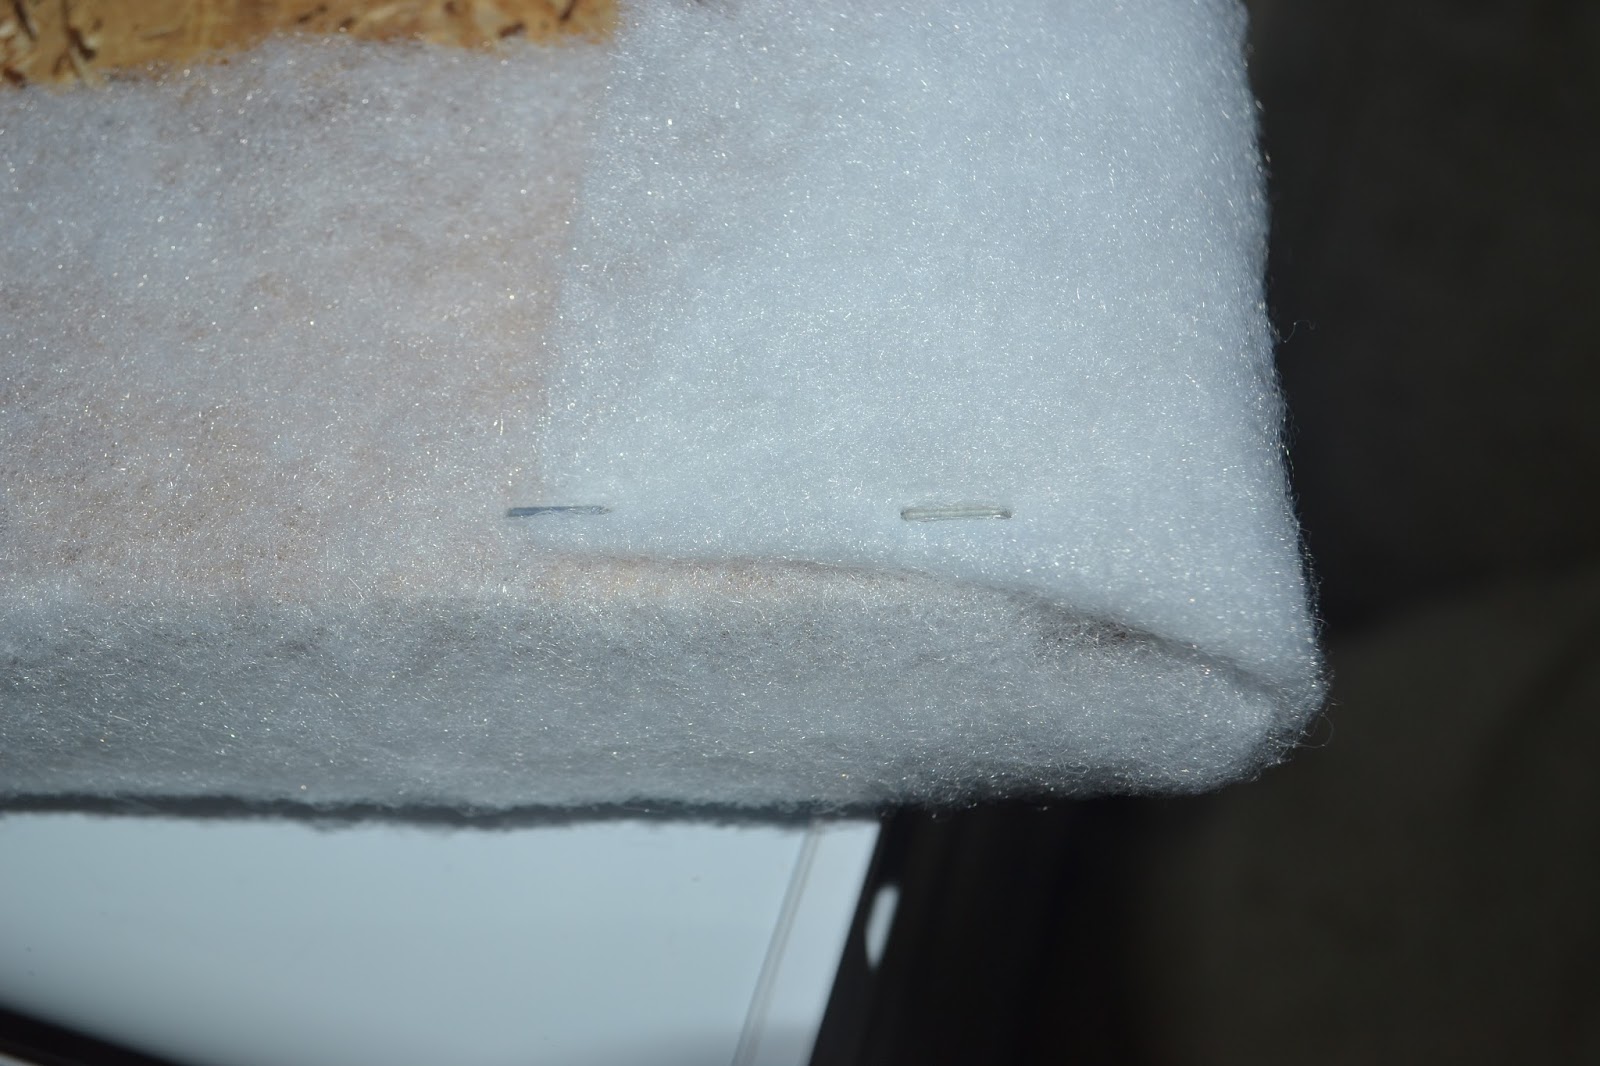
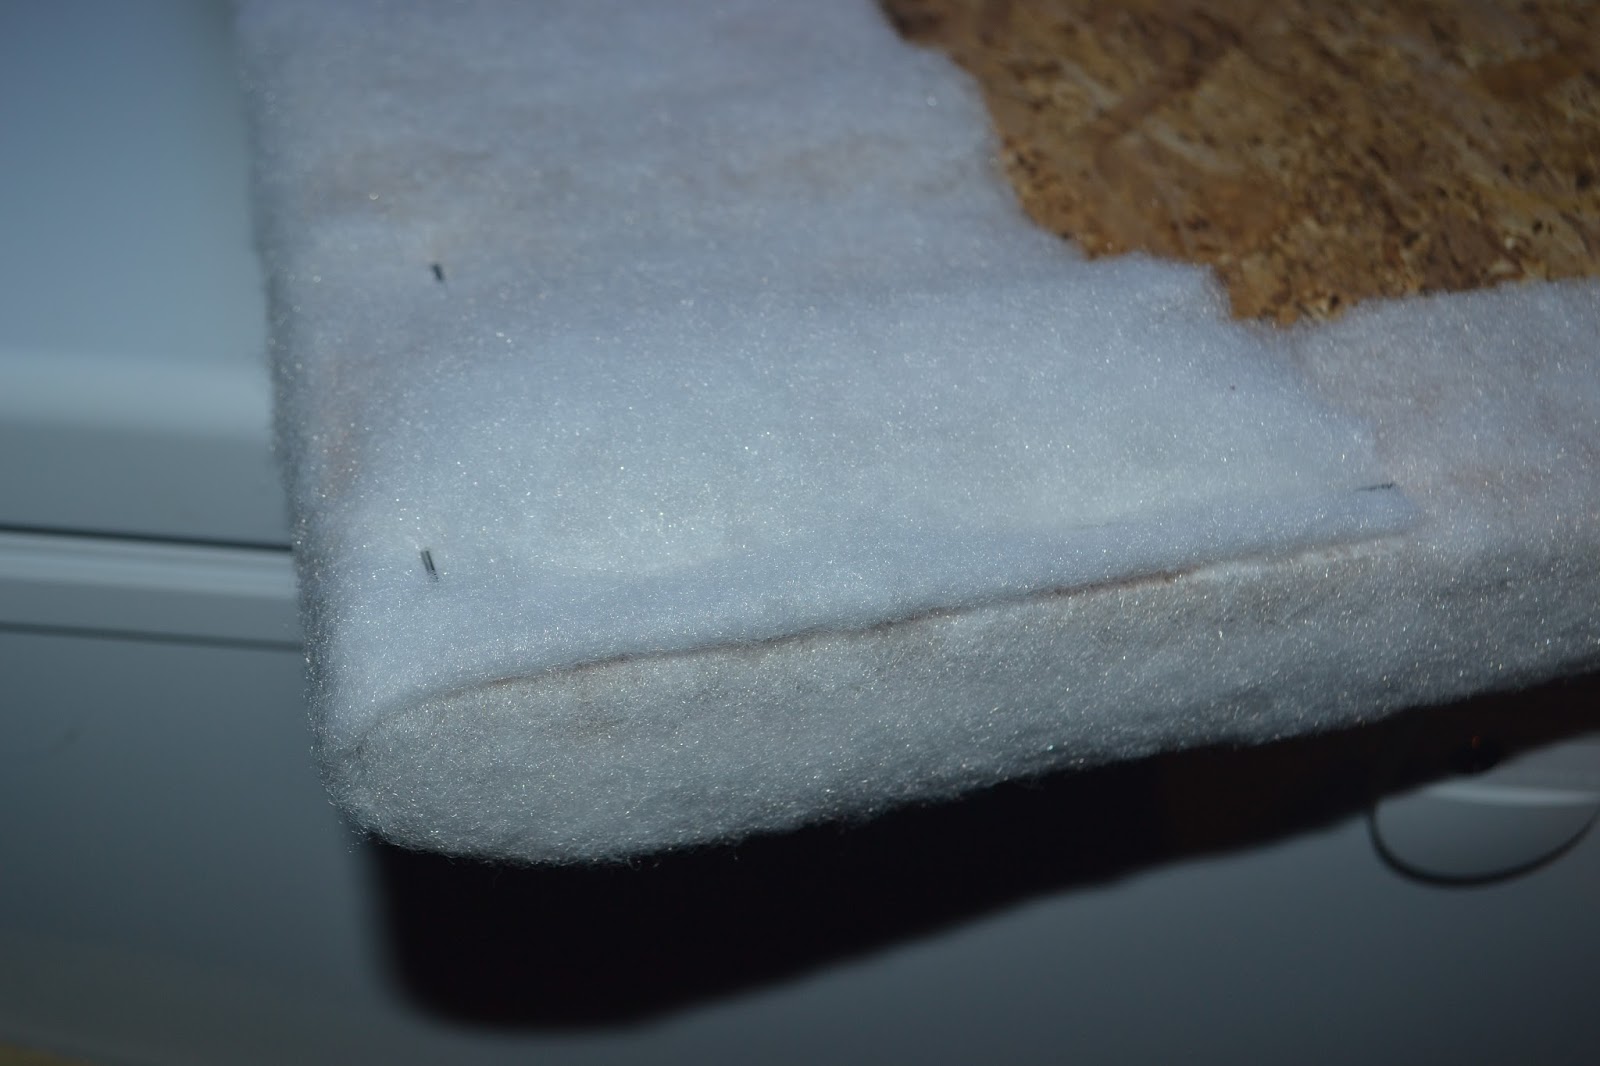
My technique on folding the batting was similar to wrapping a present. It also kind of reminds me of tucking in sheets. I don't do hospital corners, I like them straight (I'm weird like that). I wanted the edges to look clean, not bunchy. When I was satisfied with the fold I stapled the batting down.

Here's a bunch of pictures so you can really get the idea of how I folded the corners. I'm not the best with the staple gun. I don't know if I'm just not strong enough or if maybe I'm just not using leverage in the most efficient way, so, of course, I had to pull a bunch of staples out that only went in halfway. If you are a mediocre stapler like me you might want to have a hammer or some other tool handy to pull those bad boys out.


After I was done with the batting I moved on to my fabric. It took me awhile to find just the right fabric, but I finally found it at Walmart for about $3, and I have enough left over for another project. I am in love with this brown/grey flannel quatrefoil pattern. I must say I am quite obsessed with the quatrefoil design right now, It can be elegant and simple looking or very fancy and blends well with a lot of different styles.

So again, I folded the corners until I liked the look and then stapled. I folded the fabric at more of an angle so it would be hidden under the bottom of the cushion.

I set my cushion on the table to see how it looked and, I'll be honest here, it sat like that for months. I wasn't sure if I should rip the batting and fabric off and put another layer of foam so that the cushion would be more comfortable. I stashed the *almost* finished ottoman in the corner of the living room so I could marinate on what to do.
During Jackson's 3rd birthday party I noticed Cory's grandma sitting on the ottoman for quite some time. I asked her if it was comfortable and she replied that it was indeed. If the cushion was comfy enough for a 93 year old woman then it was for sure comfortable enough for anyone.
So after finishing up a couple more projects I finally decided to get on to the last step in completing my ottoman. Velcro. Yes, Velcro. Cory came up with the genius idea to Velcro the cushion down instead of gluing it so that if, say, a sloppy toddler spilled juice all over the cushion, I could easily take it off and either attempt to clean it or put new fabric on it. I could also change up the fabric at any time to go with any rooms decor! Genius, I tell you!

After trimming the batting and fabric I put strips of Velcro as close to the edge as possible. I laid the cushion on the table top and used my fingers to measure approximately where the other Velcro strips needed to go. It didn't need to align exact and I saw no reason to get all mathematical and measure it all out when no one was going to see it and, frankly, I always avoid math if at all possible. I'm really not a math person at all.

It worked out perfectly (yay!) and now I finally have a completed ottoman!

For now I'm using the drawer to store some candles.but I could definitely use it for blankets, toys, a spot for stashing stuff that's laying around when a surprise visitor comes over who I don't want to know that we are total clutter bugs...You get the picture. It's always nice to have more storage.


Jackson, of course, still uses the ottoman to sit on and play with numerous toys. It's turned out to be an extremely multi-functional piece of furniture that we can all enjoy!


I needed a base for my cushioned ottoman and I knew plywood would work perfect. I just happened to have some plywood monsters that I had used for Jackson's 2nd Birthday/Monster Party stashed in the garage. I may have gone a little overboard at that party with all the monster stuff I made, but it was just so much fun!! Maybe I will even do a post in the future on some of the monster decorations I made...
But I digress, back to the ottoman, I had Cory cut the plywood to the raised edges of the table top so the lip of the table would show and it would look more natural.

Bye bye monster, nobody will ever know they're sitting on you, unless of course they read this post!


Now that my base was cut I gathered my supplies for making a comfy cushion:
- some foam for the actual cushion
- scissors
- spray glue
- batting to soften the edges a bit
- my fabric that took me forever to find
- staple gun with plenty of staples
I don't remember how much the foam or the batting cost, however I know they were pretty cheap, no more than $10 together and I have plenty left over for more projects :).

My technique on folding the batting was similar to wrapping a present. It also kind of reminds me of tucking in sheets. I don't do hospital corners, I like them straight (I'm weird like that). I wanted the edges to look clean, not bunchy. When I was satisfied with the fold I stapled the batting down.

Here's a bunch of pictures so you can really get the idea of how I folded the corners. I'm not the best with the staple gun. I don't know if I'm just not strong enough or if maybe I'm just not using leverage in the most efficient way, so, of course, I had to pull a bunch of staples out that only went in halfway. If you are a mediocre stapler like me you might want to have a hammer or some other tool handy to pull those bad boys out.

After I was done with the batting I moved on to my fabric. It took me awhile to find just the right fabric, but I finally found it at Walmart for about $3, and I have enough left over for another project. I am in love with this brown/grey flannel quatrefoil pattern. I must say I am quite obsessed with the quatrefoil design right now, It can be elegant and simple looking or very fancy and blends well with a lot of different styles.

So again, I folded the corners until I liked the look and then stapled. I folded the fabric at more of an angle so it would be hidden under the bottom of the cushion.

I set my cushion on the table to see how it looked and, I'll be honest here, it sat like that for months. I wasn't sure if I should rip the batting and fabric off and put another layer of foam so that the cushion would be more comfortable. I stashed the *almost* finished ottoman in the corner of the living room so I could marinate on what to do.
During Jackson's 3rd birthday party I noticed Cory's grandma sitting on the ottoman for quite some time. I asked her if it was comfortable and she replied that it was indeed. If the cushion was comfy enough for a 93 year old woman then it was for sure comfortable enough for anyone.
So after finishing up a couple more projects I finally decided to get on to the last step in completing my ottoman. Velcro. Yes, Velcro. Cory came up with the genius idea to Velcro the cushion down instead of gluing it so that if, say, a sloppy toddler spilled juice all over the cushion, I could easily take it off and either attempt to clean it or put new fabric on it. I could also change up the fabric at any time to go with any rooms decor! Genius, I tell you!

After trimming the batting and fabric I put strips of Velcro as close to the edge as possible. I laid the cushion on the table top and used my fingers to measure approximately where the other Velcro strips needed to go. It didn't need to align exact and I saw no reason to get all mathematical and measure it all out when no one was going to see it and, frankly, I always avoid math if at all possible. I'm really not a math person at all.

It worked out perfectly (yay!) and now I finally have a completed ottoman!

For now I'm using the drawer to store some candles.but I could definitely use it for blankets, toys, a spot for stashing stuff that's laying around when a surprise visitor comes over who I don't want to know that we are total clutter bugs...You get the picture. It's always nice to have more storage.


I just love my ottoman! It fits nicely in with my living room decor and I finally got some of the quatrefoils that I've been craving for in that room ;).
Until the next time!


